
Listen to this article
Sealing and restoration of expansion joints in slabs and lightweight floors. It will show you how to protect your slab against infiltration e damage. You will learn how to find problematic joints and avoid them. leaks. You will also see how to choose. materials as polyurethane, silicone e elastomer, Prepare the joint, apply the sealant, cure, and test the seal. There will be tips for maintenance that save money when you call a professional. specialist and how to follow rules and practices sustainable. Everything explained in a simple way so you can take good care of your project.
Key Lessons
- Clean the joint thoroughly before sealing.
- Choose the right sealant for the material.
- Apply the bubble-free sealant.
- Allow the sealant to cure for the proper amount of time.
- Check for and repair small leaks early.
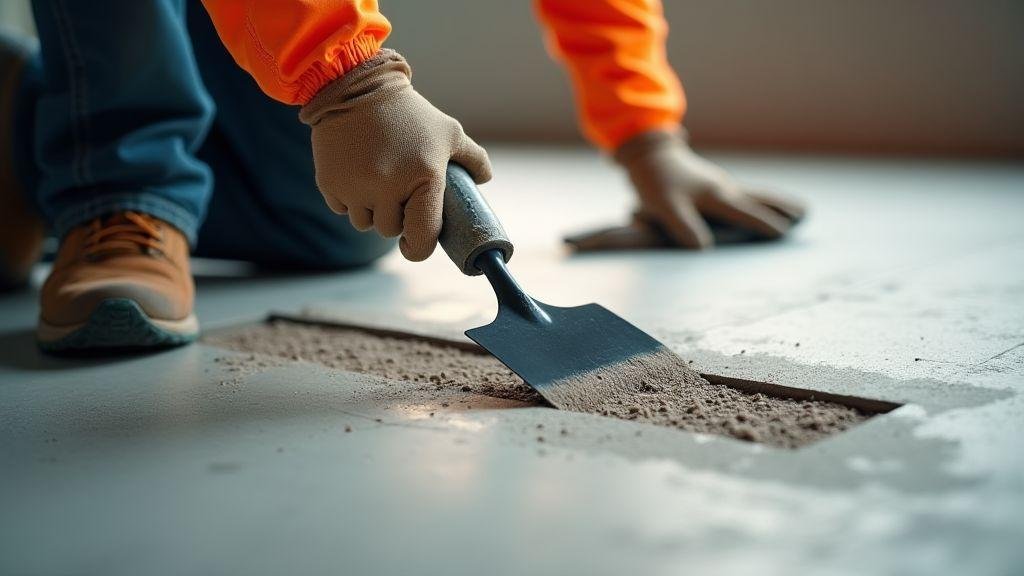
Why you should seal and restore expansion joints in slabs and lightweight floors.
A Sealing and restoration of expansion joints in slabs and lightweight floors. It protects your work like an umbrella protects you in the rain: it prevents water from entering, the floor from cracking, and small problems from becoming big ones. Well-treated joints accommodate the movement of the concrete—heat, cold, and load—without tearing, resulting in fewer cracks and fewer repairs. Doing this early saves time and money: it avoids costly interventions, downtime, and customer complaints.
How joint sealing protects your slab against leaks and damage.
The sealant acts like a rubber seal between concrete sections: it blocks water, prevents dirt from entering, and reduces friction. The material absorbs movement, preventing the concrete from cracking and protecting steel reinforcement from corrosion. The result: less maintenance and a longer lifespan for the floor.
Dangers arise when you don't repair gaskets and leaks occur.
Ignoring restoration starts a domino effect: water gets in, corrodes reinforcements, concrete loosens, and cracks, mold, and blisters appear in the coating. It can also cause electrical problems and work stoppages—it's always more expensive to fix than to prevent.
Practical benefits for your project and maintenance savings.
Well-sealed joints provide durability, lower maintenance costs, fewer construction stoppages, greater safety, and increased property value. Maintenance routines become simple and predictable.
Materials and sealants you can use for joint sealing.
For the Sealing and restoration of expansion joints in slabs and lightweight floors. Choose flexible sealants that adhere well to the substrate. The choice depends on joint movement, traffic (people or machinery), and exposure to sun, water, or chemicals. Flexibility, adhesion, and durability are key criteria. Always check compatibility with the flooring and follow the manufacturer's instructions.



Types of joint sealants: polyurethane, silicone, and elastomer.
The three most commonly used types have distinct characteristics:
- PolyurethaneGood adhesion to concrete, resistant to traffic, elastic.
- SiliconeExcellent resistance to UV rays and water, but may have reduced adhesion to dirty surfaces.
- Elastomer (elastomeric sealants): high elasticity, allows for a large amount of joint movement.
Each type has pros and cons; test on small areas before applying to the entire surface.
How to choose sealants for sealing and restoring expansion joints in slabs and lightweight floors.
Measure joint movement—large movements require sealants with high elasticity. Assess exposure to weather and chemical agents, compatibility with the substrate, and available curing time. Use primer when recommended and consult the manufacturer if you have any questions.
Durability and compatibility of materials
Durability depends on usage, exposure, and application quality. Opt for sealants tested for concrete and lightweight floors, and use primer when necessary.
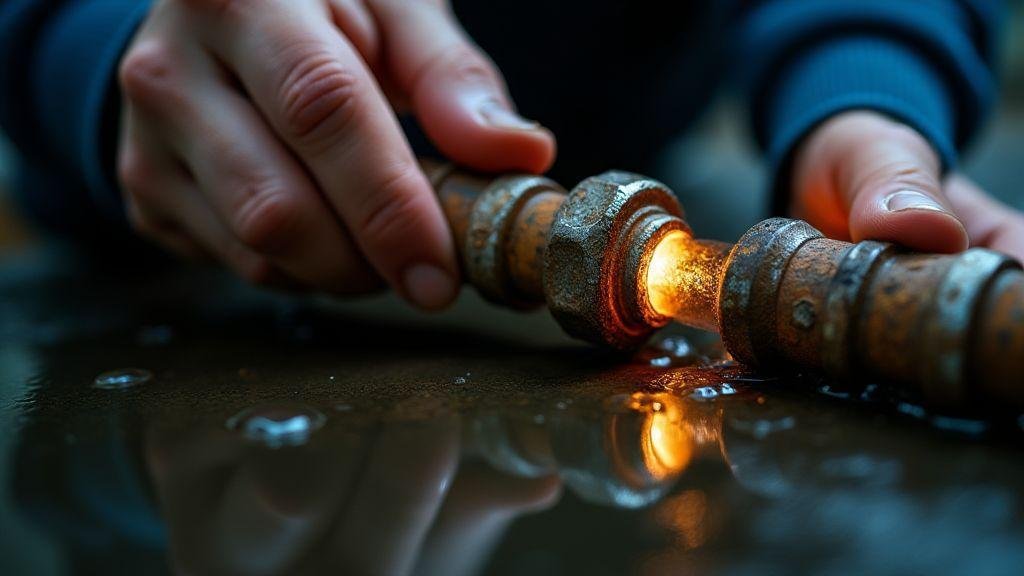
How do you detect faulty joints and the need for leak repairs?
Treat the joint like a seam: signs of a problem include stains, a musty smell, and puddles. Simple tests help: touch the joint, wipe it with a cloth or pour some water on it and see if it goes through. Document with photos and notes to facilitate later diagnosis.
Visual signs and simple tests to find leak-free joints.
Look for cracks, bulging rubber, loose parts, or mold around the joint. Test with a damp cloth or a glass of water; use a flashlight to detect water glint. Quick signs to note:
- Moisture stains on the surface
- Mold or musty smell
- Visible cracks in the joint
- Wipe the other side with a damp cloth after testing with water.
- Detachment or swollen rubber
When should you call a specialist or have industrial joints serviced?
Call a specialist if the joint is in high-traffic areas, near machinery, on floors that need to remain dry, or if there is corrosion and safety hazards. Professionals will assess whether cleaning and reapplication is sufficient or if it is necessary to replace profiles, use resin, or perform a complete restoration. Before the technical visit, gather photos, times, and frequency of the leak.
- Check the severity (intermittent humidity vs. constant water).
- Identify risks (machinery, electricity, traffic).
- Schedule a professional inspection for medium/high risk.
- For low risk, record and monitor.
Inspection record and recommended frequency
Keep a simple record: date, location, photo, and observation. Inspect:
| Area type | Recommended frequency | What to look out for |
|---|---|---|
| Residential / light | 6 months | Stains, mold, cracks |
| Commercial / medium traffic | 3 months | Detachment, intermittent moisture |
| Industrial / High Risk | 1-3 months | Corrosion, constant leaks, safety risk. |
Step-by-step guide to sealing and restoring leak-free joints.
Identify the type and size of the joint, choose the sealant and method. Main steps:
- Preparation: cleaning and removal of old sealant.
- Application: Apply the sealant and smooth it out.
- Curing: wait for the material to dry.
- Test: check for leaks
Remember to include the full title of the work when explaining it: Sealing and restoration of expansion joints in slabs and lightweight floors.. Work slowly, use PPE, and follow the product instructions.
Preparation: cleaning, removal of old sealant, and joint condition.
Cleaning the joint is crucial. Use a brush, vacuum cleaner, and appropriate solvent to remove dust, loose cement, and sealant residue. If there is moisture, dry with a cloth and hot air. Remove old sealant with a blade and spatula; repair loose edges with lightweight mortar. Essential tools: blade, spatula, stiff-bristled brush, vacuum cleaner, solvent, and protective tape.
Application of sealant, curing and sealing of joints to prevent leaks.
Use a backer rod (foam cord) on deep joints; apply primer if necessary. Distribute the sealant with a silicone gun or caulk in a continuous pattern and smooth the surface. Do not walk on or wet the joint until fully cured — typical times:
| Type of sealant | Typical curing time |
|---|---|
| Neutral silicone | 24–48 hours |
| Polyurethane | 48–72 hours |
| Polysulfide | 72 hours |
Final leak test after restoration.
Simulate rain with a hose for a few minutes and observe below the joint. Look for bubbles, cracks, or points of water entry. If there is a leak, note it and repair it after it dries.

Maintenance routine to prevent leaks and preserve joint seals.
Visually inspect frequently. Clean with a brush and water before repairing; the adhesion of the new sealant depends on this cleaning. Record dates and actions to maintain a history. A simple schedule:
- Monthly: check for leaks and dirt.
- Quarterly: clean, touch the sealant, make a note.
- Semi-annually: check backer rod and small replacements.
- Annual: complete evaluation; replace sealant if necessary.
Following this timeline helps to anticipate problems before they turn into leaks.
Joint restoration techniques and leak-proof sealing solutions
Remove old sealant until only firm material remains, clean the joint, use a backer rod when necessary, and apply new sealant. Choose flexible products that are resistant to sun and water; work on dry days and follow the manufacturer's curing time.
Replacement and repair: when to replace the sealant
Replace the sealant when it is cracked, displaced, hardened, or if there is persistent seepage. Replenish with a suitable product and restore the joint's function using a backer rod if necessary.
Standards, safety and sustainable solutions in joint sealing and restoration.
A Sealing and restoration of expansion joints in slabs and lightweight floors. It must follow standards (ABNT and international) and manufacturer's instructions to ensure performance and warranty. Safety involves the use of PPE (gloves, goggles, mask), signage, and training. Sustainable solutions include low-VOC sealants, water-based products, and practices that reduce waste.
Technical standards governing joint sealing and joint gasketing.
Standards define joint width, permissible material elongation, and testing methods. Record measurements and test results in a site logbook to prove compliance.
Sustainable products and best practices to avoid environmental impact.
Choose low-VOC, water-based sealants. Apply the correct amount, avoid waste, and clean tools properly. Scheduled repairs reduce complete replacements, which generate waste.
Waste management and workplace safety during joint repair.
Separate waste and place labeling. Use closed containers for scraps and contaminated cloths; dispose of packaging according to local regulations. Essential standards:
- PPE: gloves, goggles, mask
- Separation: recyclables and hazardous materials in separate containers.
- Containment: cloths and barriers to prevent splashing.
- Dispose of packaging and leftover materials according to local regulations.
Quick (practical) checklist for sealing and restoring joints.
- Identification: location and type of joint — note and photograph.
- Materials: suitable sealant (polyurethane, silicone, elastomer), backer rod, and primer if necessary.
- Preparation: Remove old sealant, clean, and dry.
- Application: Use a spray gun, apply continuously and smooth.
- Curing time: respect the manufacturer's instructions.
- Test: simulate rain and check for watertightness.
- Record: date and observations in the site logbook.
Use this checklist for any project that requires it. Sealing and restoration of expansion joints in slabs and lightweight floors..
Conclusion
Sealing is like an umbrella for your slab: it protects against leaks and damage. Cleaning the joint, choosing the right sealant, applying it without bubbles, allowing it to cure, and testing are simple steps that increase durability and save money. Well-maintained joints prevent mold, cracks, and expensive repairs. If in doubt or at high risk, call a specialist. Want more tips? Visit https://dicasdereforma.com.br and take good care of your construction project.
Frequently asked questions
- What is leak-free joint sealing and restoration?
You protect the joints to prevent water from entering, thus avoiding problems with the floor.
- Why is sealing important to you?
It prevents water infiltration, dirt, and floor damage, saving money.
- When should you do the sealing?
When the gasket is cracked, loose, or leaking — take action as soon as you notice the problem.
- How do you detect leaks in joints?
Look out for stains, mold, cold floors, and a musty smell.
- How long does the sealing last?
It depends on the use and material; normally 3 to 10 years.
- Is sealing and restoring expansion joints in slabs and lightweight floors the same as other services?
No. It requires specific products and techniques for lightweight slabs and floors.
- Can you do the sealing yourself?
Yes, for small joints; for technical or hazardous areas, call a professional.
- How long does the service take?
Curing time can range from hours to days; it depends on the product and the climate.
- How much does the sealing process cost?
Cost per meter and labor; request three quotes to compare.
- How to maintain the joints after sealing?
Clean with a cloth, avoid corrosive products, and inspect regularly.
- What materials are used in restoration?
Sealants, backer rods (foam), primers, and application tools.
- Does sealing make the floor look bad?
You can choose the color and finish; it can be discreet and aesthetically pleasing.
- Does the sealing process have a guarantee?
Yes, it depends on the service and the manufacturer — ask for the timeframe before finalizing the purchase.