Listen to this article
Learn how to make plasterboard walls with the necessary tools and simple steps. In this article, we'll cover everything from the essential materials until installation e perfect finish. You will discover the types of plaster, the tools you will need and detailed steps for a job well done. In addition, we offer valuable tips and creative ideas for using plaster in your home. Let's get started and transform your space!
Main conclusions
- Choose the right place for the plaster walls.
- Measure the space before cutting out the pieces.
- Use the right tools for a good cut.
- Fix the plaster well to the structure.
- Sand the walls for a smooth finish.
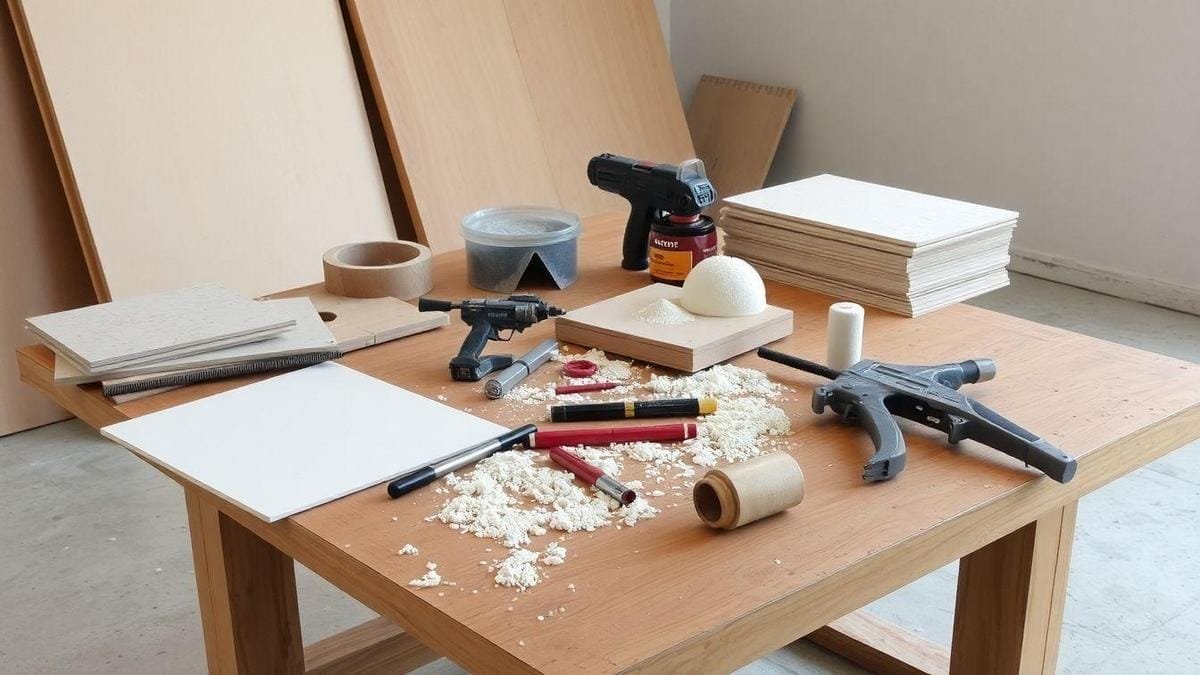
Materials Needed to Make Plasterboard Walls
Types of plasterboard
There are different types of plasterboard that you can use, each with its own specific characteristics. The main ones are:
- Standard plasterboardIdeal for indoor areas such as living rooms and bedrooms.
- Moisture Resistant PlasterboardPerfect for bathrooms and kitchens as it resists humidity.
- Fire-resistant plasterboardUsed in places where fire safety is a priority.
Essential tools
Now that you know the types of plaster, it's time to talk about the tools you need. Here are the essential tools to begin with:
- Drill: For fixing plasterboard.
- SerraTo cut the boards to size.
- Spatula: To apply the finishing compound.
- Level: To ensure that the walls are straight.
Complete Materials List
Here is a table with the complete list of materials you will need:
| Material | Quantity |
|---|---|
| Standard Plasterboard | 10 units |
| Moisture Resistant Gypsum Board | 5 units |
| Plaster screws | 200 units |
| Finishing putty | 1 bucket |
| Joint Tape | 1 roll |
With this list in hand, you're ready to take the first step in building your plasterboard walls. Now all you have to do is follow the steps required for assembly.
Plasterboard Installation Steps
Preparing the environment
Before you start installing plasterboardyou need to prepare the environment. Here are the steps you should follow:
- Cleaning the spaceRemove furniture and objects from the site. This prevents damage and makes the job easier.
- Checking the wallsMake sure the walls are dry and free of moisture. If not, treat the damp before proceeding.
- MeasuresUse a tape measure to measure the space where the plasterboard walls will be installed. Write down the measurements so you don't get lost.
Assembling the structure
Now that the room is ready, it's time to assemble the structure that will support the plaster. Follow these steps:
- Materials needed:
- Metal profiles (U and C)
- Screws
- Drill
- Level
- Tape measure
- Installation step-by-step:
- MarkingUse a pencil to mark where the metal profiles will be installed. Use the level to make sure the lines are straight.
- Fixing the Profiles: Fix the vertical and horizontal profiles to the wall. Use the drill and screws to make sure everything is secure.
- VerificationAfter assembly, check again that everything is level. This is essential for a good finish.
Plasterboard installation
Once the structure has been assembled, it's time to install the plasterboard:
- Plate cuttingCut the plasterboard according to the measurements you have written down.
- FixingAttach the plates to the metal profiles using screws. Start at the edges and then in the middle.
- FinishingAfter installation, fill the joints with plaster putty and sand for a perfect finish.

Tips for a Perfect Plasterboard Finish
Finishing Techniques
To making plasterboard walls For a perfect finish, you need to follow a few essential techniques. First, use a spatula to apply the putty. This helps to make the surface smooth. Then sand the wall after it has dried. Use fine sandpaper to make sure there are no imperfections. Apply a second coat of putty if necessary and sand again.
Care during installation
During installation, pay attention to detail. Check that the plasterboard is securely fixed. Use plasterboard screws to ensure that everything is secure. Also, avoid working in damp environments, as this can damage the material. Keep the work area clean and tidy to avoid accidents.
Common mistakes to avoid
Here are some mistakes you should avoid:
| Common mistake | Description |
|---|---|
| Do not use gasket tape | This can cause cracks in the seams. |
| Applying too much grease | This can result in an uneven finish. |
| Ignore drying | Don't let the putty dry completely before sanding. |
Pay attention to these points and you'll have an impeccable finish on your plasterboard walls.
Advantages of using plasterboard
Lightweight and easy to transport
O plasterboard is a lightweight material, which makes it easy to transport. You can carry the slabs without needing help, which saves time and effort. What's more, because it's lighter than other materials, such as concrete, you can install it more quickly and efficiently. This means you can complete your project in less time, allowing you to enjoy your new space sooner.
Thermal and Acoustic Insulation
Another important benefit of plasterboard is its thermal and acoustic insulation. It helps to keep the temperature in your home stable, preventing heat or cold from entering easily. This can result in significant savings on your energy bill. In addition, plasterboard also reduces the sound that passes from one room to another, providing a quieter and more comfortable space. To find out more about how to ensure good insulation, check out isolation techniques.
Benefits for the Comfort of Your Home
With good insulation, you can enjoy a more comfortable home. Imagine relaxing in a quiet environment where the noise from the street doesn't bother you. What's more, the pleasant temperature makes you feel good, whatever the season. The use of plasterboard, therefore, not only improves the aesthetics of your home, but also contributes to your well-being.
| Advantages of plasterboard | Description |
|---|---|
| Lightness | Easy transportation and installation. |
| Thermal insulation | Keeps the temperature stable, saving energy. |
| Acoustic insulation | Reduces sound between rooms, increasing comfort. |
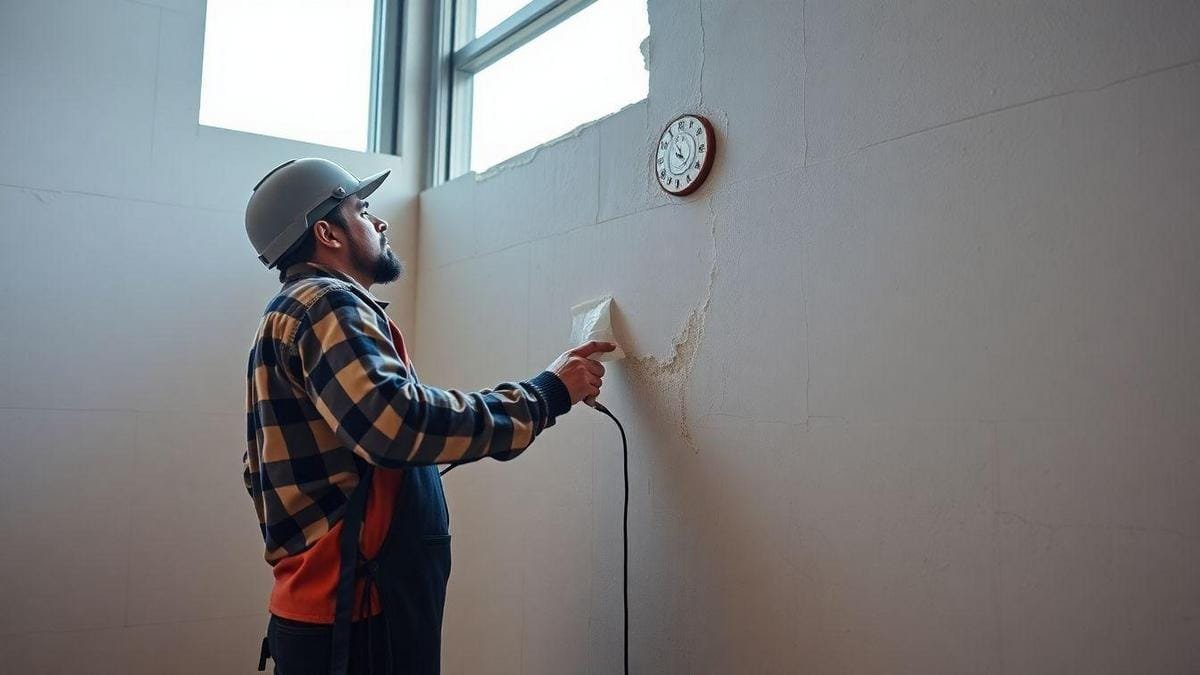
Maintenance of plasterboard walls
Cleaning and General Care
To maintaining your plasterboard walls in optimum condition, regular cleaning is essential. Here are some simple tips:
- Use a damp cloth: Wipe with a slightly damp cloth to remove accumulated dust.
- Avoid abrasive productsThey can damage the surface of the plaster.
- Keep humidity under controlExcess moisture can cause mold and damage.
Common repairs
Sometimes your plasterboard walls may need repairing. Here are the most common repairs you can make:
- CracksUse drywall putty to fill small cracks.
- HolesFor larger holes, cut a piece of plasterboard and replace the damaged area.
- Wear and tear: Reapply the paint when you notice fading.
How to Extend the Life of Plasterboard
To make sure your walls last, follow these tips:
- Avoid impacts: Be careful when moving furniture.
- Inspect regularlyCheck for signs of damage or damp.
- Paint with suitable paint: Use paints that are resistant to moisture.
| Tip | Description |
|---|---|
| Regular cleaning | Wipe with a damp cloth to prevent dust from accumulating. |
| Frequent inspection | Check for cracks or mold every six months. |
| Use of suitable paint | Choose moisture-resistant paints. |
Creative applications of plasterboard
Customized Partitions and Environments
Gypsum plasterboard is a practical option e versatile to create room dividers. With it, you can transform an open space into two or more rooms, such as a home office or a living-dining room. To do this, follow these steps:
- PlanningDecide where you want the partitions. Make a sketch of the floor plan.
- Materials neededYou will need
- Plasterboard
- Metal profiles
- Screws
- Paper joint tape
- Joint compound
- Tools: saw, drill and level
- Assembly:
- Install the metal profiles on the floor and ceiling.
- Fix the plasterboard to the profiles.
- Finish with ribbon and putty.
Decorative Coatings
As well as being used as partitions, plasterboard can also be used as decorative coverings. You can create textures e forms on the walls. To do this, follow these steps:
- Choice of DesignThink about how you want the wall to look. It could be an accent wall with texture or a simpler design.
- Materials needed:
- Plasterboard
- Finishing putty
- Paint (if you want to color)
- Execution:
- Apply the plasterboard to the wall.
- Use the dough to create the desired texture.
- Paint after drying.
Ideas for Using Plasterboard in Your Home
Here are some creative ideas for using plasterboard:
- Built-in shelves: Create shelves that seem to float on the wall.
- Recessed lightingUse plaster to hide LED lights, creating a soft effect.
- Decorative niches: Make niches to display decorative objects.
| Idea | Description |
|---|---|
| Built-in shelves | Shelves that integrate into the wall |
| Recessed lighting | Hidden lights for a soft effect |
| Decorative niches | Spaces to display decorative items |
Conclusion
Now that you've learned how to make plasterboard wallsyou are more than ready to transform your space. Remember to follow each step carefully and use the the right tools to guarantee a perfect finish. Don't forget the importance of good planning and care during installation. By applying these tips, you'll not only have beautiful walls, but also a more pleasant environment. comfortable and functional.
If you want to explore more about renovations and creative tips, be sure to visit Renovation Tips. After all, every project is a new opportunity to leave your mark!
Frequently asked questions
How do I measure the space for the plasterboard walls?
Measure the height and width of the space. Use a tape measure. Write down the measurements.
What tools do I need to make plasterboard walls?
You will need: saw, drill, level, tape and screws.
How do I structure the plasterboard walls?
Cut the pieces out of metal or wood. Fix them to the floor and ceiling with screws.
Is it necessary to make an outline before starting?
Making a sketch helps you visualize your wall and organization.
How to apply plasterboard to the structure?
Position the boards on the frames. Use screws to secure them.
What precautions should I take when handling plasterboard?
Wear gloves, a mask and goggles. Dust can be harmful to your health.
How long does it take to build a plasterboard wall?
On average, 1 to 2 days. It depends on the size of the wall and your experience.
Can I do plasterboard walls on my own?
Yes, but it's easier with help. Two people can speed up the work.
How do you finish plasterboard walls?
Use tape and putty. Sand to make it smooth and pretty.
Can I paint the plasterboard walls?
Yes! After finishing, use specific paint for plaster.
How to prevent plasterboard walls from warping?
Secure the structure well and use good quality boards. Correct installation is key.
Where can I find the plasterboard?
The boards are available in building material stores. Ask in the drywall area.
How to make plasterboard walls with the necessary tools and steps?
Follow these steps: measure, create the structure, fix the plaster, finish. It's that easy!

I'm passionate about sharing the fascinating world of engineering. In this blog, we'll embark on a journey through innovative projects, cutting-edge technologies and the challenges of construction. If you're an enthusiast, a student or just curious about how things are built, this is the place for you! Get ready to uncover the secrets behind bridges, buildings, tunnels and other engineering marvels.


